Adding plugins
Procon Layer helps a lot when it comes to managing Battlefield Servers. It's much easier to configure and maintain the server, but it also provides plugin support which can be a game changing deal!
Uploading plugins to the Procon Layer
Once you find and download a plugin to your PC, you need to upload it to the Procon Layer.
This can be done in 2 ways, by using a File Manager on the game panel or using an FTP.
In case you need help on how to manage your server files via FTP, please refer to this article: How to manage your server files using FTP (File transfer protocol)
Every plugin should have installation instructions on their respected page.
Generally it's just placing the files from the .zip archive in the correct place.
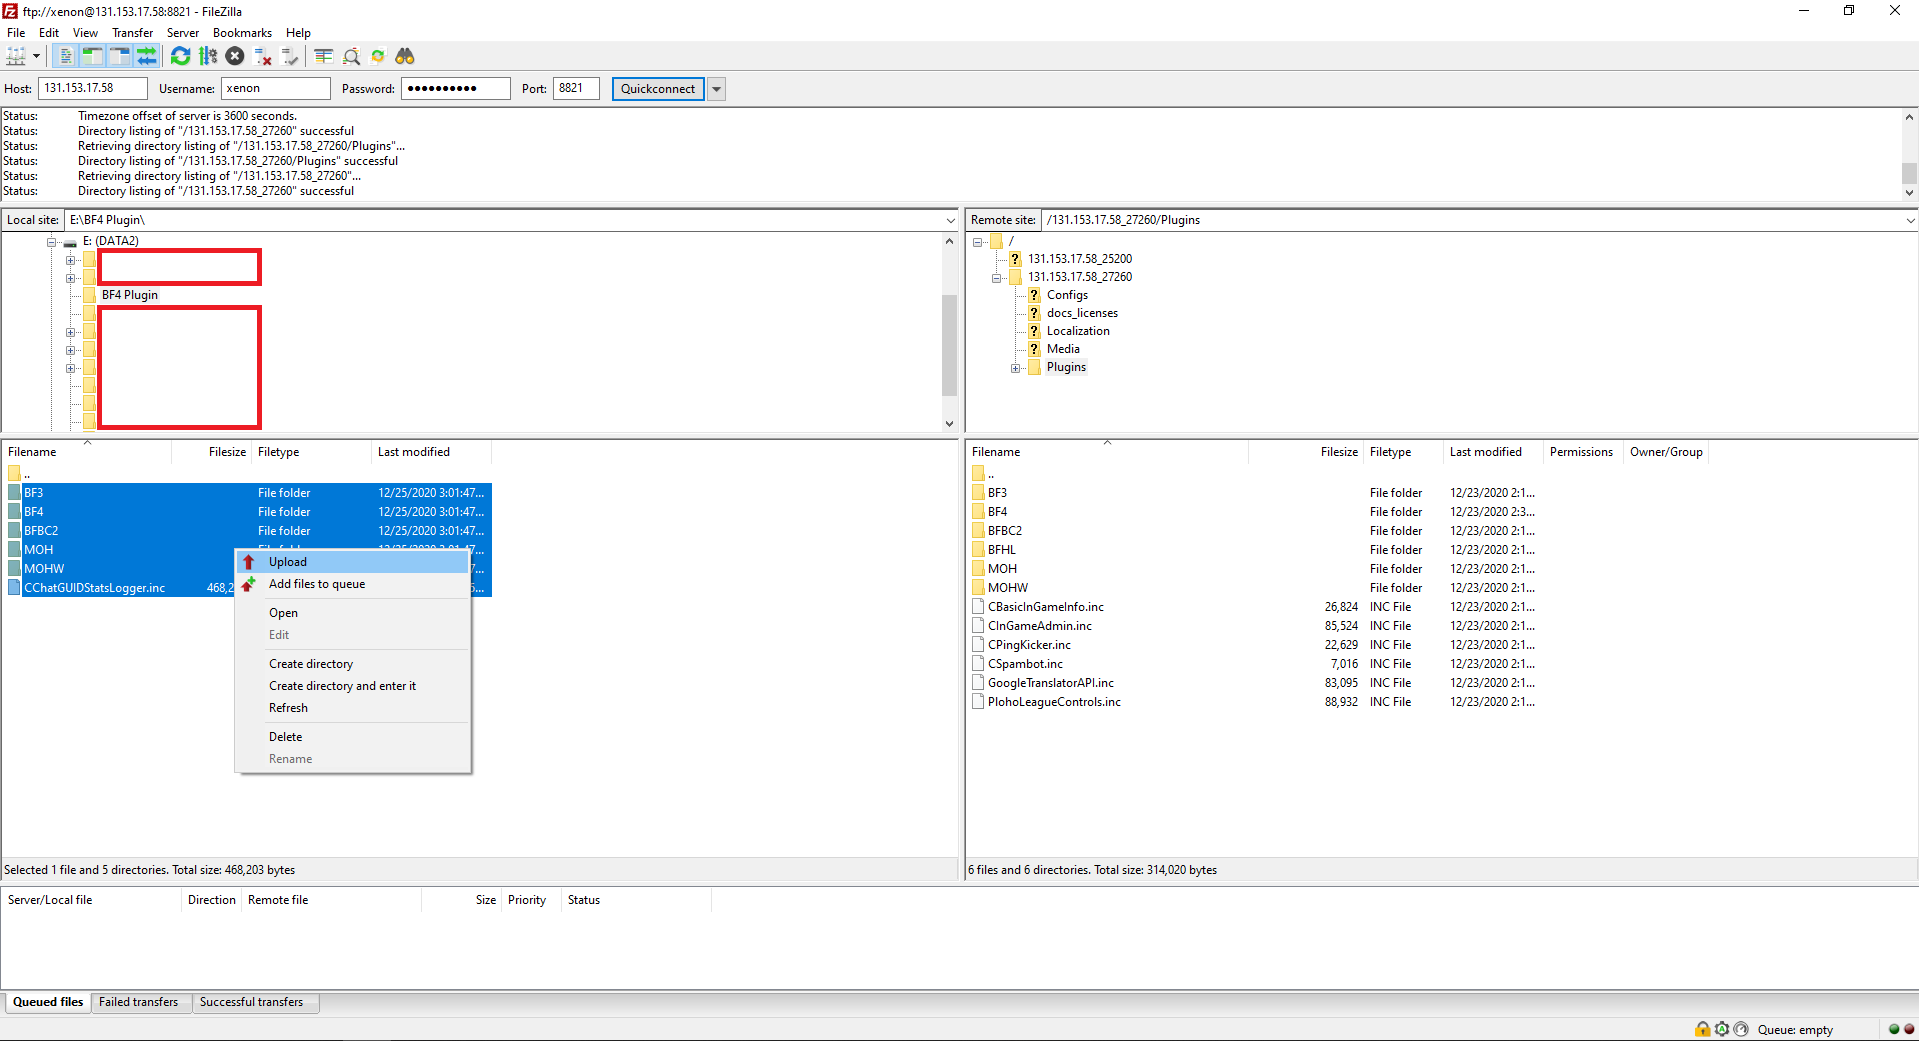
Navigate to the "Plugins" folder and transfer the .cs file into the game folder.
If you will be using the plugin for the BF3 server then you should place it in BF3 folder, if you will be using it for BF4 server then you should place it in BF4 etc.
In case there are multiple folders and files in the plugin archive, it's best to transfer everything to your Procon Layer.
Enabling plugins
Once the plugins are uploaded, Procon Layer needs to be restarted in order for it to load the plugins. Restart your Procon Layer via game panel!
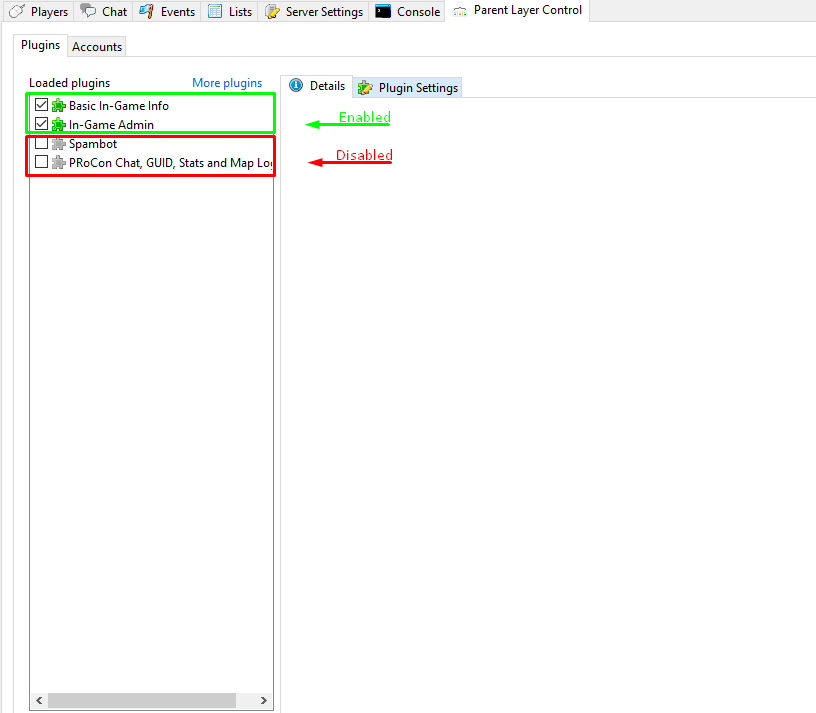
Navigate to the "Parent Layer Control" → "Plugins"
You will have a list of the plugins that your Procon Layer managed to find among its files.
In order to enable a plugin you will have a checkbox next to its name. Simply click on that checkbox and if everything is alright the plugin will be enabled.
Configuring plugins
Every plugin can be configured from within the Procon Layer.
While in "Parent Layer Control" → "Plugins" simply click on any of your plugins and press "Plugin Settings" tab.
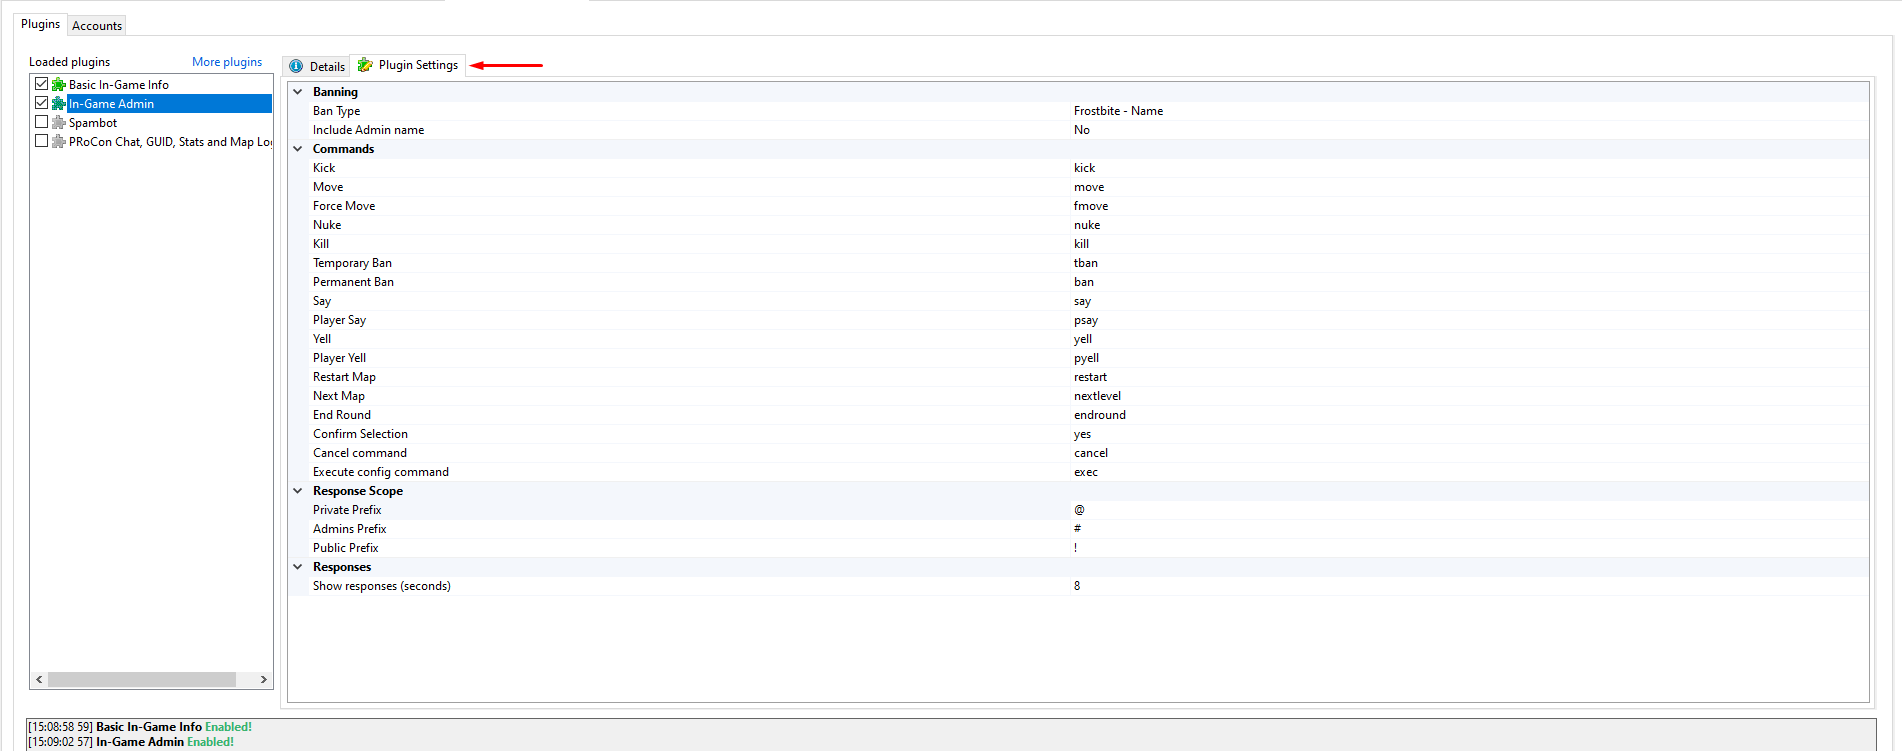
All plugins can be configured this way, and it's up to you to configure them to your liking.