Installing Oxide plugins on the server
There are many oxide plugins that can be installed on the server and which can improve your gameplay experience. It's up to you to decide what will be on the server and how it will be configured.
Prerequisites for the Oxide Plugins:
- uMod/OxideMod
Oxide mod must be installed on your server for plugins to run.
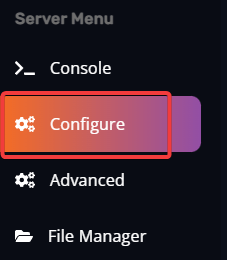
Navigate to the Configure option on the left-side menu on Fragify Panel and click on the OxideMod variable to be enabled!
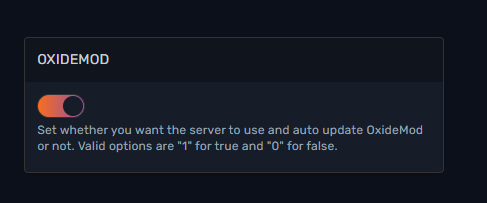
Start/Restart the server for the oxide to be downloaded on the server. It will generate a new folder oxide in the main directory of your Rust server.
Installing plugins on the server
We need to install plugins on the server.
We have two methods that we can use for this: via the uMod Plugins option on the left-side menu in the Fragify panel or via File Manager.
Method #1 Installing plugins via uModP Plugins option on panel
- Go to uMod Plugins and search for plugins that you would like the server to have.
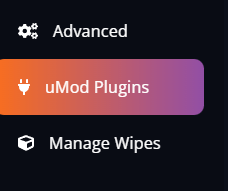
- Click the Install button on the plugins you would like to install.

Method #2 Installing plugins via File Manager
-
Go to your Rust server on the Fragify panel
-
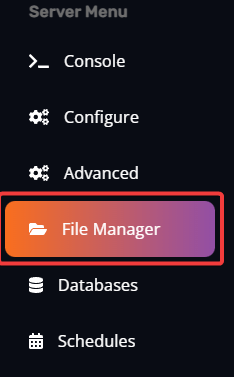
Navigate to File Manager
-
Go to oxide/plugins directory
-
Simply press the Upload button and select the plugins (.cs files) you want to upload.
-
Once those files are uploaded, restart your server
-
Your oxide plugins will now be loaded on the server!
Your Oxide plugins will generate configuration files which you can edit. You can access those files by going to your File Manager. All plugin configs are located in the following location: oxide/config, and you can edit files by just clicking on them.
You have successfully installed Oxide plugins on your Rust server!